 The day after Thanksgiving, a close friend of mine forwarded me an email blast from Amazon that boasted their “Black Friday Deals Week.” Knowing I am a huge geek, she forwarded me the email not because she wanted me to be in on the special, but because of the way the email was designed. Instead of a standard HTML email, it contained an animated gif. For those of you who may not know, a GIF is a file which allows various images (frames) in the file to be painted with time delays. Think of the flipbooks you made when you were a kid. What? You didn’t make any flipbooks as a child? That’s so sad! Go grab a pack of post-its and a pencil, and let your imagination run wild! Need some inspiration? Here is what the GIF from Amazon looked like:

Above image courtesy of Amazon.
Within the next few days, another friend, Sonja Stein, forwarded me an email from Anthropologie. Again, a GIF.

Above image courtesy of Anthropologie.
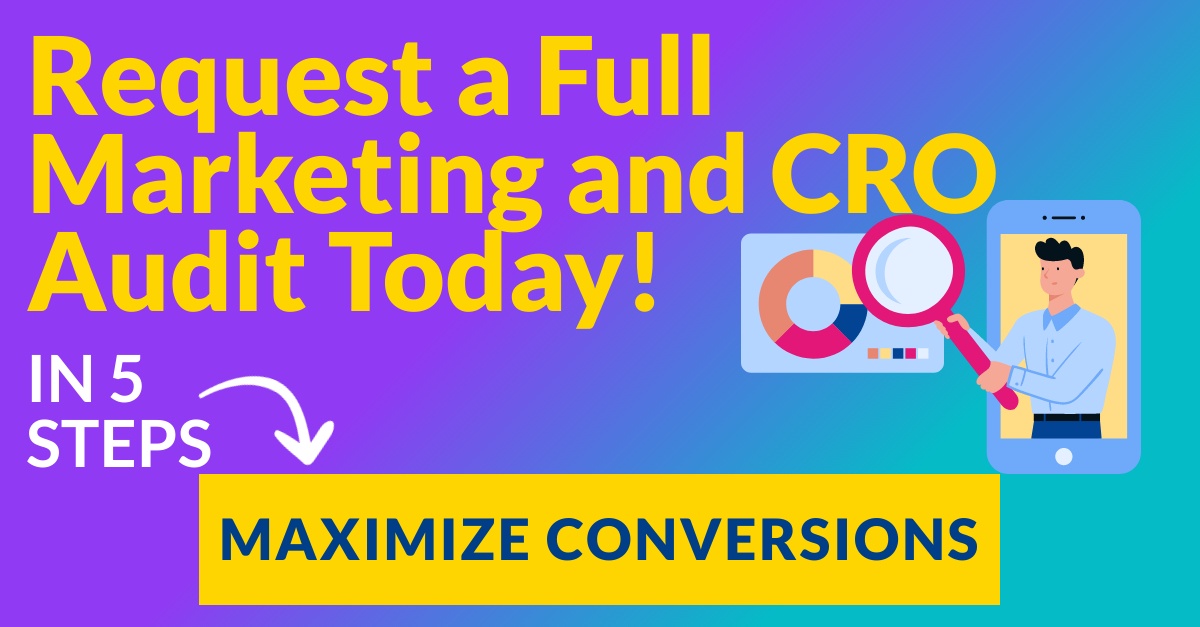
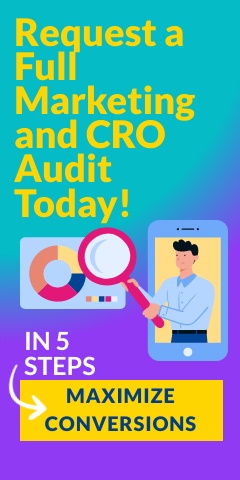
That same week, our CEO, Arthur Cooper, asked me to design our holiday e-mail. In years past, our holiday greetings were simply images. Well, with all the GIFs I had seen in the past week, I knew I had to do something a bit different. In this article, I’ll discuss why you should include an animated GIF in an email, explain the process for creating an animated GIF, how to embed it into an email, and give some more examples of animated holiday fun.
Why You Should Include an Animated GIF
Here is a little challenge for you. Don’t touch your email for 24 hours. You can do it! This upcoming weekend is the perfect opportunity for it. When the 24 hours is up, return to your inbox and check to see how many emails you received during your vacation from technology. Question: how many of those were from large retail companies, like Amazon, Express, Victoria’s Secret, etc.? Probably quite a few. And while each email probably had some sort of great deal you may have been interested, you most likely skipped right through them on to your more important emails. Another question: how many of these emails contained animated GIFs? Probably none. But what if one of them did? Chances are you may not have skipped right past it. It may have caught your eye, and you may have even clicked through to the site that sent the email to learn more.
My friends, getting your users to open and interact with your HTML emails is not just half the battle, I would say it’s about 98% of the battle. We are bombarded everyday with emails commanding our attention. An animated GIF might help to set you apart from your competitors that are crowding your user’s inbox.
Now that I have convinced you to include a GIF, you are probably wondering how you can possibly use a GIF in a corporate email. Well, I have a couple ideas.
Idea 1: Showcase Your Products
An animated GIF doesn’t have to be a cartoon. You can use photos of your projects set to rotate at a slow speed to give your GIF a slideshow-like look. Perhaps you have a new product that comes in 27 new colors, instead of listing them, have them rotate in front of your user.
Idea 2: Demonstrate Steps
Do you have an awesome new product that does something to make your users life easier? Instead of listing bullet points of what your product does, use a GIF! Take a photo of each step and combine the photos into an animated GIF. A photo can speak a thousand words; a GIF can probably speak a million!
How to Create an Animated GIF
Before we get into specifics, I’d like to show you our final product, so you will be able to understand what we are trying to achieve.

Step 1: Decide On a Concept
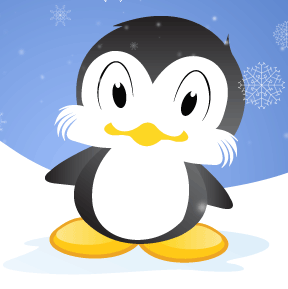
As many of you may already know, Penguin was the code name for the algorithm update first announced on April 24, 2012. Playing on the idea that most spammy SEO companies fear penguins, I wanted to display that Optimum7 is not intimidated by Google’s updates. On the contrary, we respect and even befriend them. I discussed this idea with one of our fabulous copywriters, Lisa Sherman, and she came up with the message: “Unlike Google’s pet, our penguin is friendly and just wants to wish you Season’s Greetings from all of us here at Optimum7!” Just like that, our concept was born.
Step 2: Create the Still Images
How you create the image is entirely up to you. I used a combination of Adobe Illustrator and Photoshop for this project, but I have also created hand-drawn images and scanned the images into Photoshop. It really just depends on what your artistic strengths are and what kind of feel you’d like your animation to have.
For this project, I created a simple background as well as my happy little penguin in Adobe Illustrator.


I then imported both vectors into Photoshop, and named the file AnimatedGif.psd. The dimensions of my file are 612 pixels x 325pixels.

Step 3: Create the Snow
The next step is to create the snow. I used a collection of PSD brushes that are available for download at Deviant Art.
Open a new Photoshop document that is much larger than “AnimatedGif.psd”. Name it “SnowBackground.psd”. Make the background blue or any other color you’d like, so you will be able to see your white snowflakes. Please note: you will eventually make this background layer invisible, so just the snowflakes will show.

Create a new layer in SnowBackground.psd and name it “Snow”. Using your snowflake brushes, fill up the layer to your desired snowfall amount. Once you have sufficiently filled your layer up with snowflakes and other soft round brushes, right-click your “Snow” layer. Click “Duplicate Layer…” and make sure the destination is “AnimatedGif.psd”.
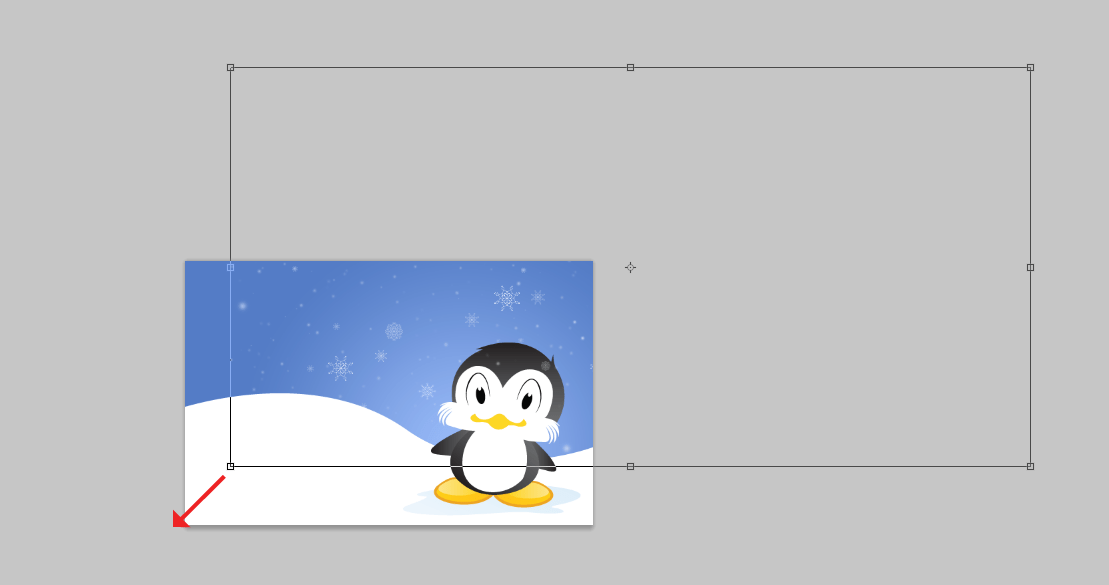
Move back to your original Photoshop document (AnimatedGif.psd). Align the new “Snow” layer diagonally as pictured below.

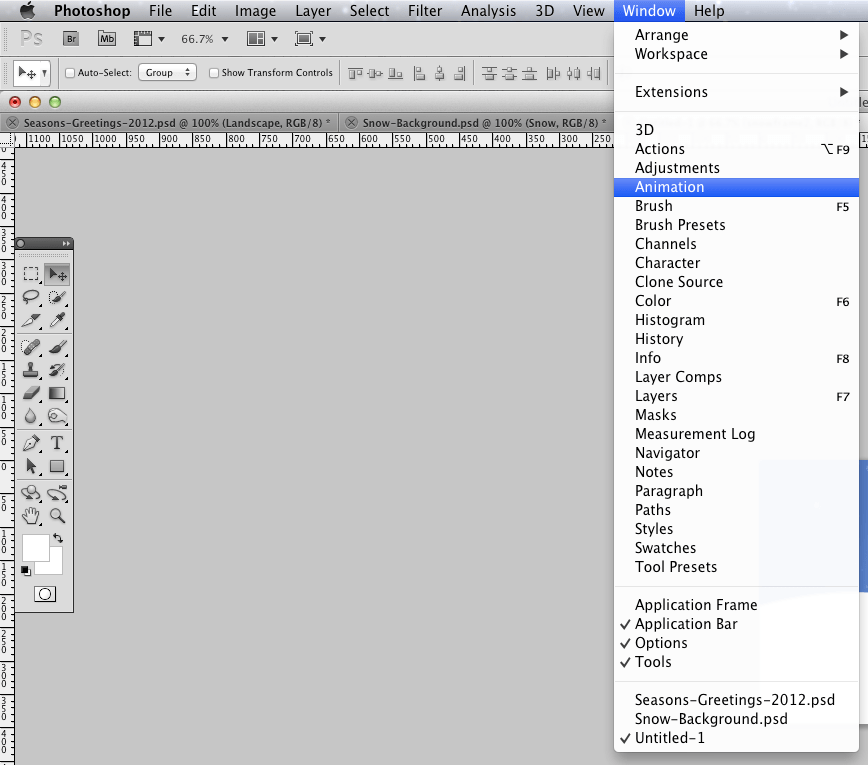
Open the Animation pane by clicking “Window” and then “Animation”. Your screen should look like this.
On the animation (frames) panel, change the amount of time for the frame to 0.2 seconds.
Click the “New” button in the animation panel to duplicate the selected frame.
Move back to the layers panel and select the Snow layer. Holding the shift key, move the Snow layer diagonally to the left about 10 pixels or so. You can now see that the snow has moved in the second animation frame but not the first.
Repeat this process of creating new frames and moving the snow layer as many times as you please. My animation has a total of 13 frames, but you can make your GIF as complex as you like.
When you have completed this step, you can press the play button to see your GIF in action. How fun is that?!
Step 4: Saving the GIF
The next step is to save the GIF. Go to File > Save For Web & Devices and make sure your settings look like this:
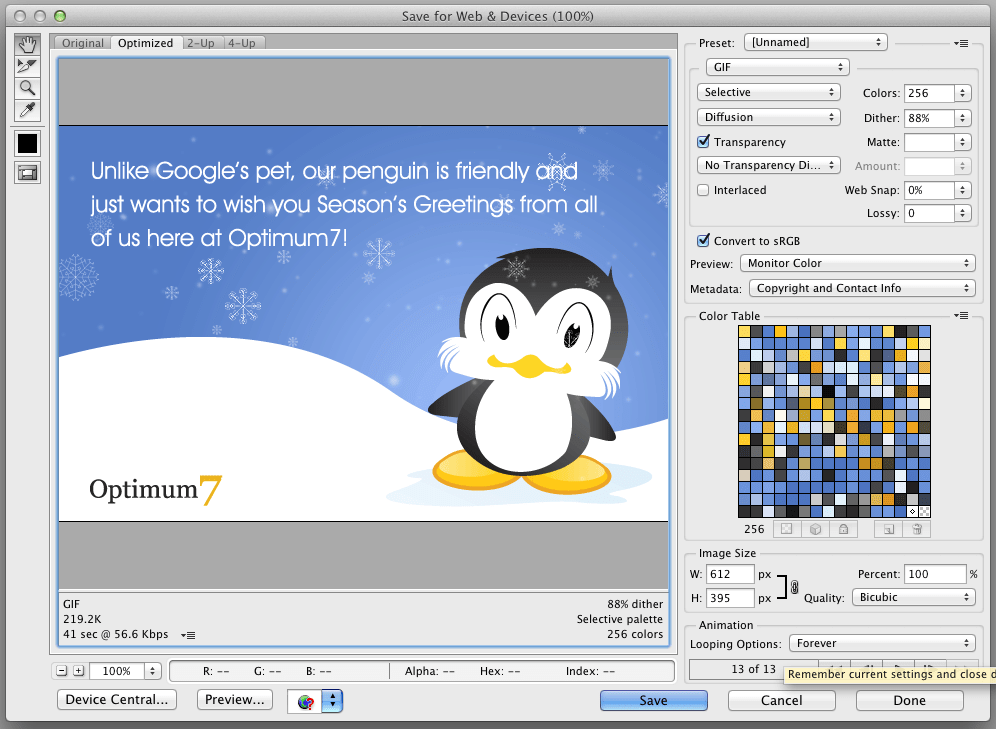
Once your settings are correct, press Save.
Step 5: Adding the GIF to an Email
You can send this file as an attachment and it will show up inside the email just fine. However, if your recipient would like to forward the email, it will not work properly. I suggest inserting into an HTML email. I recommend using an email service like MailChimp or CampaignMonitor if you are going to send the email to a large group. For a full, in-depth look at how to create HTML emails, please see one of my recent articles, A Beginner’s Guide to Designing HTML Email.
A Gift of Gifs!
Well now that you are an absolute pro when it comes to creating animated GIFs,
be sure to leave your GIF in the comments section, we’d love to see what you are working on!